Every female wants to look beautiful and gorgeous. For enhancing your looks, it is always desirable to add a special feature to your overall personality. Like clothes, hairs and foot wears, nails are also important aspect of our body which should be handled carefully.
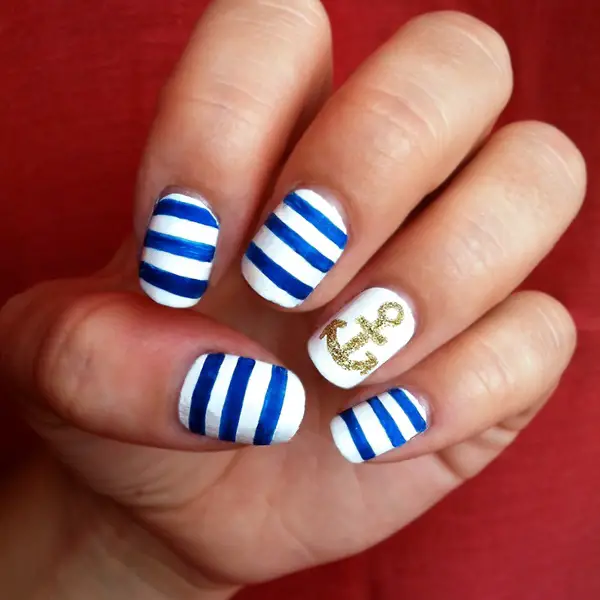
Nail art is no more a new concept. It complements your attire at various occasions and adds a unique feature to your looks every time. Nail art basically includes formation of various art forms using creative designs. The females truly love this concept and they are actually developing a kink towards this. Whether you are getting ready for parties, wedding occasions or for professional meet-ups, there is a specific nail art for every occasion. Follow these simple steps to make good nail art designs and decorate your nails in a beautiful manner. It is therefore necessary to learn about such essential Tips for Make-up which will help in doing just to your skin and your looks.
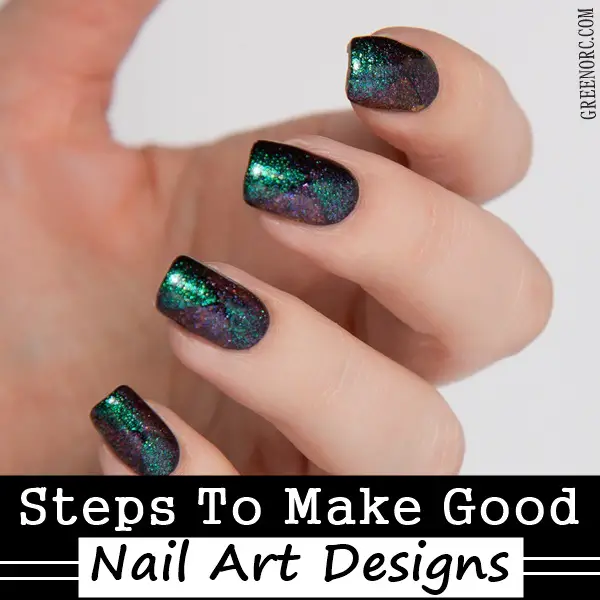
Steps To Make Good Nail Art Designs
Clean-up your nails
The first and foremost thing that needs to be done for nail art is to prepare your nails.
- Make sure you clean your nails
- Remove old nail polish, if any, applied by you.
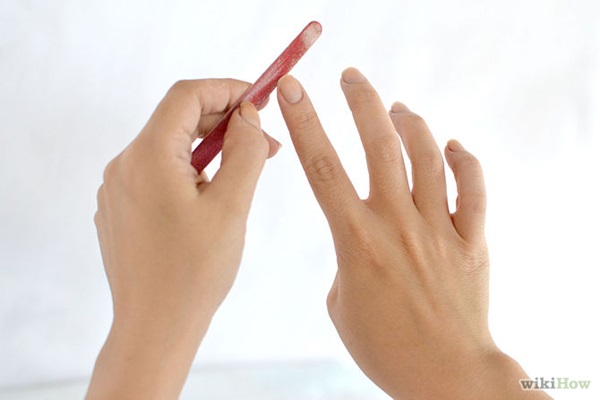
- Push cuticles with the help of stick
- There should be no moisture left in your nails.
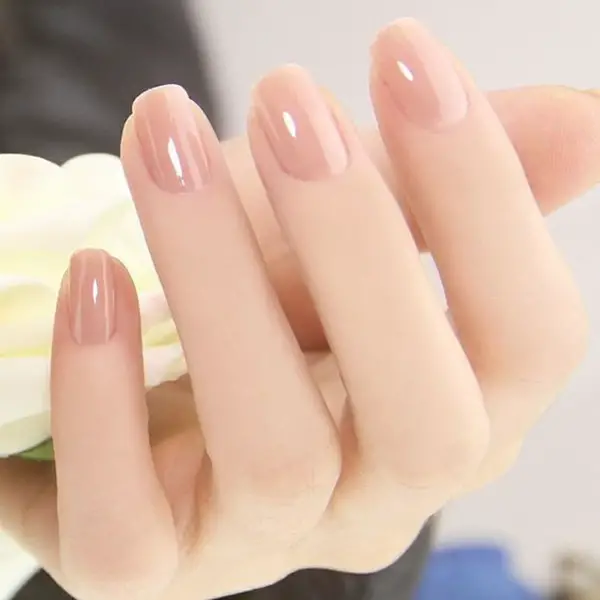
Cutting and filing of nails
Giving a proper shape to your nails is extremely important. In order to make them look neat, it is important to trim and shape your nails. Since, we are getting prepared for nail art, make sure you don’t cut your nails too short. It is always great to have larger area to show-off your nail art. Here is a list of some useful tips for those people who wish to have easy beautiful nails designs and want to get rid of damaged nails
Applying base-coat:
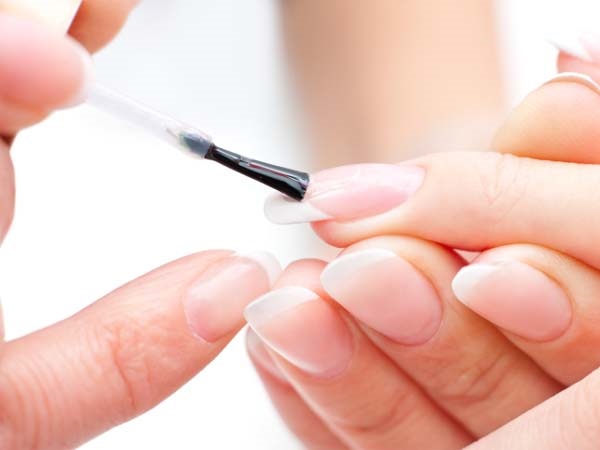
This may be considered as the most crucial stage of nail art. Basecoats provide a stable and strong base to the nail polish and the art form which you are going to put.
- Basecoats act as natural shield for your nails and prevent them from getting damaged.
- They are usually transparent or bluish in color and are available on every store where nail paints are sold.
- You just need to put one coat of this and leave it to try completely before performing any further steps.
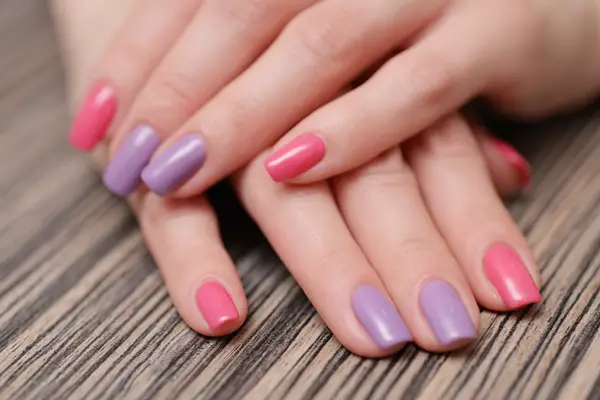
Paint your nails

Once the base coat dries completely, the next step is to paint your nails with the nail polish of your choice say of pink or red color. You can even go for the combination of shades such as pink purple or red and black. This step requires most of your time and attention out of all the steps to make good nail art designs. You need to paint the nails the twice in order to give double-coating to your nails.
Paint the tip of the nail with different color

Two complementary colors always look fabulous on one nail. One can go for French nail art designs which requires painting the tip of the nail with different color. You can also try to create a chevron tip by diagonally painting the upper part of a nail from both left and right side. Don’t forget to perform the steps twice to give the effect of double-coating.
Adding a sticker or tattoo to your nails
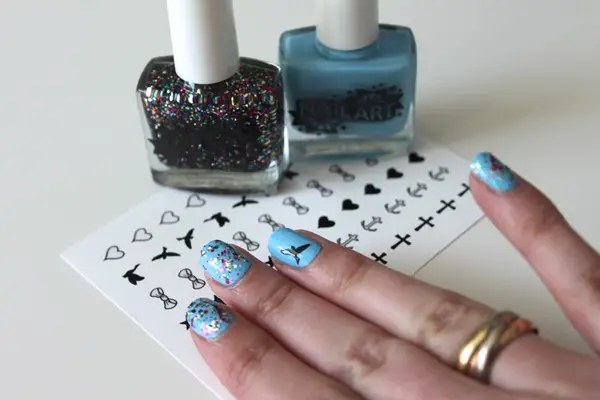
Once you are done with the painting part, then comes the decorating part. Nail art is incomplete and rather meaningless without these accessories.
- Apply a pinch of nail glue or nail gel on your nail.
- You can try putting it on the tip or near the lower corner. Think for the place where it will look best.
- Choose sticker, jewel or tattoo as per your choice and drop it carefully on the glue or gel.
- With the help of tweezers press it gently and let the glue dry.
- Put a clear top coat on the nail in order to prevent the sticker from falling off from the nail.
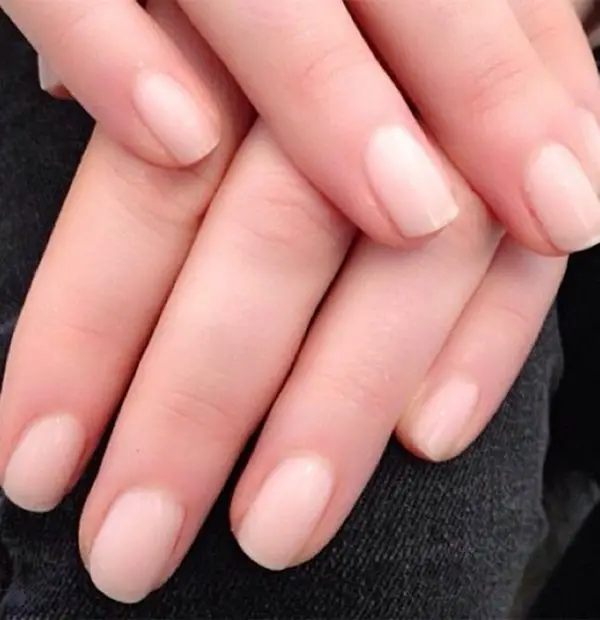
The final neat look
Don’t forget to use polish remover at the end to clear off the cuticle stains. This is just done to give an extremely neat and pro look to your nail art.
Perform these steps to make good nail art designs today only and enjoy being the loveliest creation of the almighty on this planet.